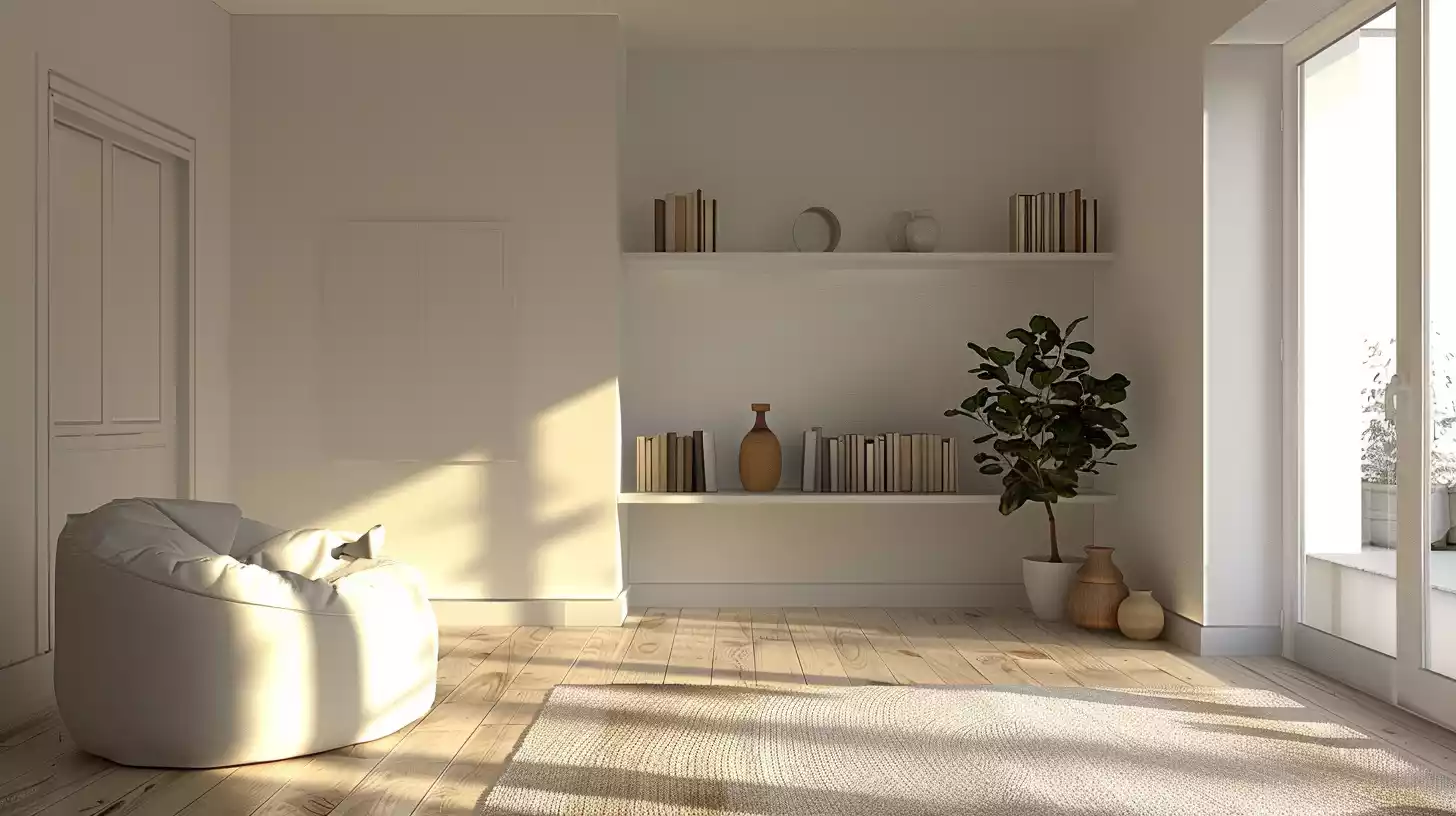
To create a truly clutter-free home, I’ve learned that it’s not just about getting rid of stuff, but also about cultivating a mindset that prioritizes intention, functionality, and simplicity.
By following seven essential steps, I’ve been able to transform my space into a haven of tranquility. I purged unwanted items, confronting sentimental attachments and emotional burdens. I also assigned a home for each item, creating a sense of order and maintaining a clutter-free mindset.
What really helped was creating a functional storage system, established a maintenance routine, and designated clutter-free zones.
Keep reading for my 7 essential steps to a totally clutter free home.
Quick Summary
- Purge unwanted items by acknowledging what’s no longer necessary or loved, and release sentimental attachments to free yourself from emotional clutter.
- Assign a home for each item, designating a specific spot to create a sense of order and maintain a clutter-free mindset.
- Create a functional storage system that complements designated homes, using labeling categories and color-coded bins to categorize and store items efficiently.
- Establish a maintenance routine, setting aside time each week to tidy up and review the storage system to ensure it remains functional.
- Designate clutter-free zones, identifying areas that tend to accumulate clutter and setting boundaries to keep them clear.
Purge Unwanted Items Completely
I’m ready to purge unwanted items completely, starting by acknowledging that not everything I own is necessary or loved.
This realization sparks a purging mindset, letting me release sentimental attachments to items that no longer serve a purpose.
I’m adopting a letting go mindset, freeing myself from the emotional burden of clutter.
As I purge, I confront the reasons behind my attachment to certain items, identifying patterns and habits that contribute to clutter accumulation.
This newfound awareness empowers me to make intentional decisions about what I choose to keep and what I’m willing to release.
Assign a Home for Each Item
Now that I’ve purged unwanted items, I’ll designate a specific spot for each remaining item, creating a sense of order and maintaining a clutter-free mindset.
This step helps prevent clutter from building up again.
To make it easy to find things, I’ll use label maker essentials to identify each item’s home.
I’ll assign a home for each item by:
- Categorizing similar items together (e.g., all cleaning supplies in one area)
- Storing items near their point of use (e.g., cleaning supplies under the sink)
- Using vertical space to maximize storage capacity
- Keeping frequently used items in easy-to-reach locations
- Considering the flow of traffic in high-use areas when assigning item homes
Create a Functional Storage System
I’ll create a functional storage system that complements the designated home for each item. This system will maintain my clutter-free space and make it easy to find what I need when I need it, saving time and reducing stress.
I’ll use labeling categories and color-coded bins to categorize and store items efficiently.
| Category | Color Code | Storage Location |
|---|---|---|
| Office Supplies | Blue | Desk Drawer |
| Kitchen Utensils | Green | Kitchen Cabinet |
| Cleaning Tools | Yellow | Laundry Room Shelf |
| Seasonal Decor | Red | Attic Storage Bin |
This system will help me quickly locate items, saving time and reducing stress.
Establish a Maintenance Routine
To prevent clutter from building up again, I’ll set aside a specific time each week to maintain my organized space and guarantee everything remains in its designated home. This maintenance routine will maintain my space stays clutter-free and organized.
I’ll incorporate the following daily habits into my morning routine:
- Allocate 10 minutes each day to tidy up and put away items that are out of place
- Designate a specific spot for frequently used items to avoid clutter accumulation
- Wipe down surfaces after meals to prevent crumbs and spills from building up
- Hang up clothes immediately after they come out of the dryer
- Review and adjust my storage system regularly to confirm it remains functional
Designate Clutter-Free Zones

As I work on maintaining my clutter-free home, I’m realizing that designating certain areas as clutter-free zones is essential.
I’ve identified the areas that tend to accumulate clutter the most, like my desk and kitchen countertops, and I’m making a conscious effort to establish boundaries to keep them clear.
Identify Clutter Hotspots
I pinpoint areas in my home where clutter tends to accumulate, recognizing that these hotspots are often the first places to get out of control. This helps me identify the roots of cluttered mindsets and tackle hidden messes before they spiral out of control.
Some common clutter hotspots in my home include:
- Entryways, where shoes, bags, and keys tend to pile up
- Kitchen counters, where appliances and snacks clutter the space
- Desks, where paperwork and office supplies can quickly add up
- Closets, where clothes and accessories can become disorganized
- Laundry rooms, where dirty clothes and cleaning supplies can accumulate
Establish Boundaries Daily
By setting daily boundaries, I prevent clutter from creeping back into my newly organized spaces. This boundary setting is essential in maintaining my daily routines.
| Area | Boundary |
|---|---|
| Kitchen counter | No leaving dirty dishes overnight |
| Entryway | No leaving shoes or bags on the floor |
| Desk | No piling up papers or documents |
| Living room | No leaving remotes or toys on the floor |
I designate clutter-free zones to maintain my organized spaces.
Implement the One-Touch Rule
To streamline my cleaning process and save time, I put things away in their designated spot as soon as I’m done using them.
This one-touch rule helps me make quick decisions, speeding up decluttering and preventing clutter from building up.
I designate a home for each item, making it easy to put things back in their place.
I clean as I go, wiping down surfaces and putting away dishes immediately after meals. I sort mail and paperwork as soon as I receive it, recycling or filing away important documents.
I hang up clothes as soon as they’re dry, rather than leaving them on the floor or on a chair.
I put away toys and books after playtime, teaching kids the importance of cleaning up after themselves.
Schedule Regular Decluttering Sessions
I’ve found that staying on top of clutter requires consistent effort, so I make it a habit to schedule regular decluttering sessions.
This helps me stay focused on my goals and guarantees that clutter doesn’t build up again.
Set Decluttering Goals
Setting realistic decluttering goals helps me stay focused and motivated throughout the process. Having a cluttered mindset can be overwhelming, but by setting specific goals, I can break it down into manageable tasks. This boosts my decluttering motivation, allowing me to stay on track.
I set goals for myself:
- Declutter one area at a time to avoid feeling overwhelmed.
- Set a timer for 20-minute decluttering sessions to maintain momentum.
- Donate or recycle at least 50% of items removed from each area.
- Create a ‘maybe’ box for items that are difficult to decide on.
- Reward myself after completing each decluttering session to stay motivated.
Decluttering Session Plan
By scheduling regular decluttering sessions, I maintain momentum in my decluttering journey.
I establish a morning routine that sets the tone for a productive day. With a clear decluttering mindset, I allocate a specific time slot each week, making decluttering a habit.
During each session, I focus on a specific area or task, breaking it down into manageable chunks. This approach helps me stay focused, avoiding feelings of overwhelm.

