In this article we offer you to have a look on this nice idea for children rooms – tree hangers. It will be convenient and original addition to the room of your child. We prepared two DIY tutorials for making such tree hangers, explaining some features, ideas and possibilities.
By the way, in this way you can make not only children’s hangers-trees, but also unusual element for your flat – hallway or bedroom, for example. The only thing that will be different is the height and possibly color. The rest is almost similar. Have a look on some ideas for tree shaped clothing racks for your apartment here.
But in this article two DIY tutorials describe the process of creating such tree clothing hangers for kids. We will not argue that everyone could do this. But if there is a man in the house and some tools for cutting of wood, than it is absolutely real making such an original children’s tree hanger.
Besides substantial savings (compared to the finished product and the time to find it), your efforts will be rewarded with delight and joy of your child.
Children tree hanger DIY tutorial number 1 – “summer tree”
Materials and tools for crafting a tree hanger:
2 plywood boards at least 120×60 cm and a 8-10 mm thick, wrapping paper (cheap one, for the template) 120×60 cm, 4 metal brackets and screws to them, several wooden handles with fastening, jigsaw, paint and brush, screwdriver, scissors, pencil, sandpaper.
DIY tutorial:
Draw a pattern on the wrapping paper in a form of a tree (crown, branches, base) – so that both sides were roughly symmetrical to each other, and all the lines – rounded. In the middle you have to mark the center line in the width of 1 cm. Cut out the template and paint the tree over it on the plywood.
Saw 2 identical elements from both plates, and then make a slit 1 cm width one of them – cut a slot by the central line from the top to the middle (where the individual branches begin, follow the instructions as on the images). Clean the edges with sandpaper to a perfectly flat surface and then paint, for example, in 2 shades of the same color.
Install ready elements of the tree on the floor and put one element into another through the slot. Initial stability of our tree hanger achieved For optimal results fasten it with the metal corners on each side, where both elements are connected.
Cut little flowers of leaves from the remaining plywood, paint them with bright colors and connect to the tree-hanger. Now your tree hanger is ready to amaze!

white tree hanger for kids diy
white tree hanger for kids diy tools you will need
white tree hanger for kids diy drawing the tree

white tree hanger for kids diy cutting
white tree hanger for kids diy fixing parts together
white tree hanger for kids diy painting with white
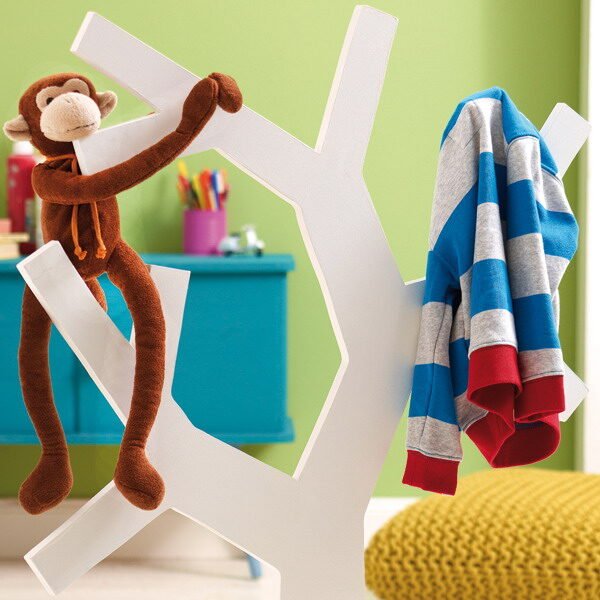
white tree hanger for kids diy the tree is ready
Children tree hanger DIY tutorial number 2 – “winter tree”
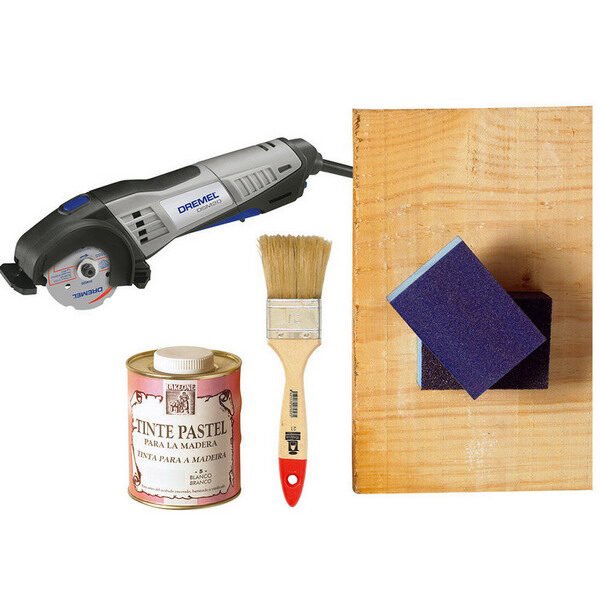
Materials and tools for crafting a tree hanger:
plywood panel 100×75 cm size and a 10-12 mm thick, wrapping paper (for a tree hanger template), acrylic paint and brush, carpenter’s glue, mini-saw for precise cutting, sanding blocks, pencil, drawing square, ruler.
Tree hanger DIY tutorial:
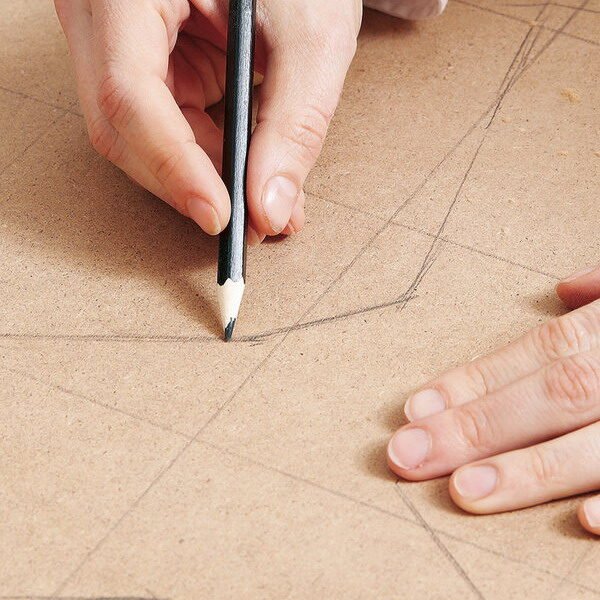
Draw a pattern on the paper, draw a trunk and trees branches. Cut ready template, drag it to the plywood and saw out the main element. Feather edges with a sandpaper or sand blocks to get full smoothness.
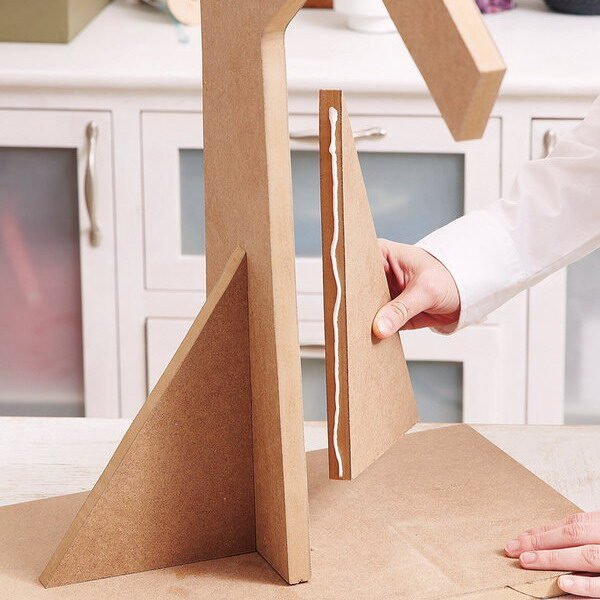
Create a basis for a tree hanger from remaining plywood; saw out also 2 supporting triangle. Glue the tree to the base, and then secure it to the bottom of the supporting triangular elements. If you want to enhance the reliability of the design – use metal corners.
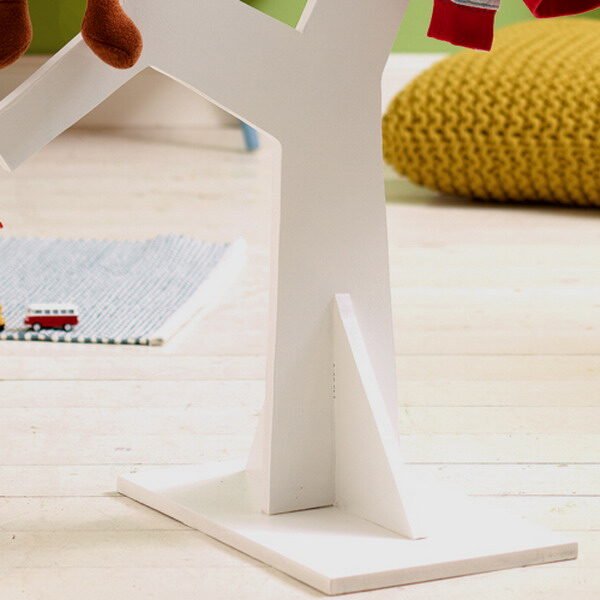
If you use plywood, paint it white or any other bright color, which goes in harmony with the interior of the room. If you want, you can put some additional tie hooks or handles, as it was shown in the previous tutorial.
This tree-hanger would be good not only for the children rooms, but it will also absolutely fit into the modern hallway. Change the height and paint it brown.
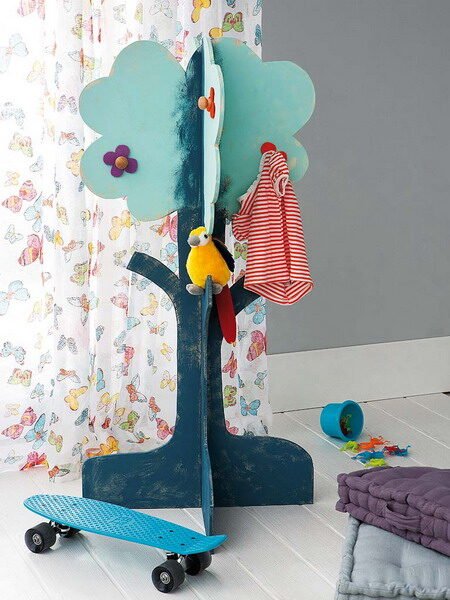
tree hanger for kids diy

tree hanger for kids diy tools you will need

tree hanger for kids diy drawing the tree on hardboard

tree hanger for kids diy painting the tree

tree hanger for kids diy fixing tight

tree hanger for kids diy screwing hangers

tree hanger for kids diy the three is ready